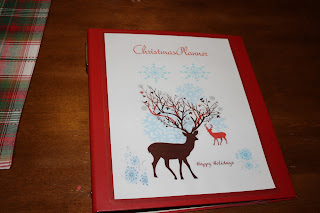
I also added a cute Martha Stewart label holder on the spine. Just to add a nice clean look, as well as keep in uniform with all my other home binders.
The planner is divided into five sections. First is GIFTS- this includes lists of people we are giving gifts to divided into lists such as family, friends, and co-workers, also neighbor gifts. Next Year I want to tweak the list into a great list idea I saw here. Second is LISTS- This includes my Christmas card list with addresses, master to-do list, to-buy list, and a for next year list. Because every year I think of new decoration, or a new idea I have for Christmas decor, or anything I want to buy for the following year. Things I didn't have time to get for the holiday, but want to remember for the following year. The third tab is SCHOOL STUFF- Because I'm a teacher, there is a whole lot of things I need to remember to buy and things to do. The Last two sections are for IDEAS and RECIPES
I also added a calender in the front, as well as our Christmas tree directions in the back.
Here is my Christmas Planner- I LOVE IT!!! I'm sure as the years go by and our family and needs change, the planner will change to.
HAPPY PLANNING AND HAPPY HOLIDAYS
Michelle


.JPG)


.JPG)


No comments:
Post a Comment