Saturday, August 25, 2012

Summer Wrap-up 2012

Here I am, the last Saturday of my summer vacation. It seems that once school starts, life moves 100 miles an hour. I have been back at work for a week, in meetings, working on our rooms, lesson plans..etc. But to me, it's when we have our have the kiddos in the classroom that I truly feel that summer is truly over!! I love my job, but I love summer...
This Summer was AWESOME... here's a wrap-up of Summer 2012.

June

Our niece graduated from High School- so proud of her!!


My Aunt Oralia retired after 35 years as an educator. We celebrated with a Hawaiian luau. I was fun!!


Also these cute boys got to meet...Awwww!! Love this pic!! It looks like Xavier is introducing himself to Joey.  Gotta post the other pics- So Cute!!


Did I mention we had THREE parties on the weekend of my aunts retirement party!!
My sweet momma's birthday and we also celebrated my little cousin Tino's 5th birthday a bit early. So sweet to have my grandma's three great-grandsons together!!


Our trip to the Bahamas!!!!


The annual trip to County Line BBQ for our great friend Adrian's birthday!

July


My nephew's 15th birthday!!!


Celebrated the 4TH with a BBQ with family!!


Participated in my first PINTEREST challenge


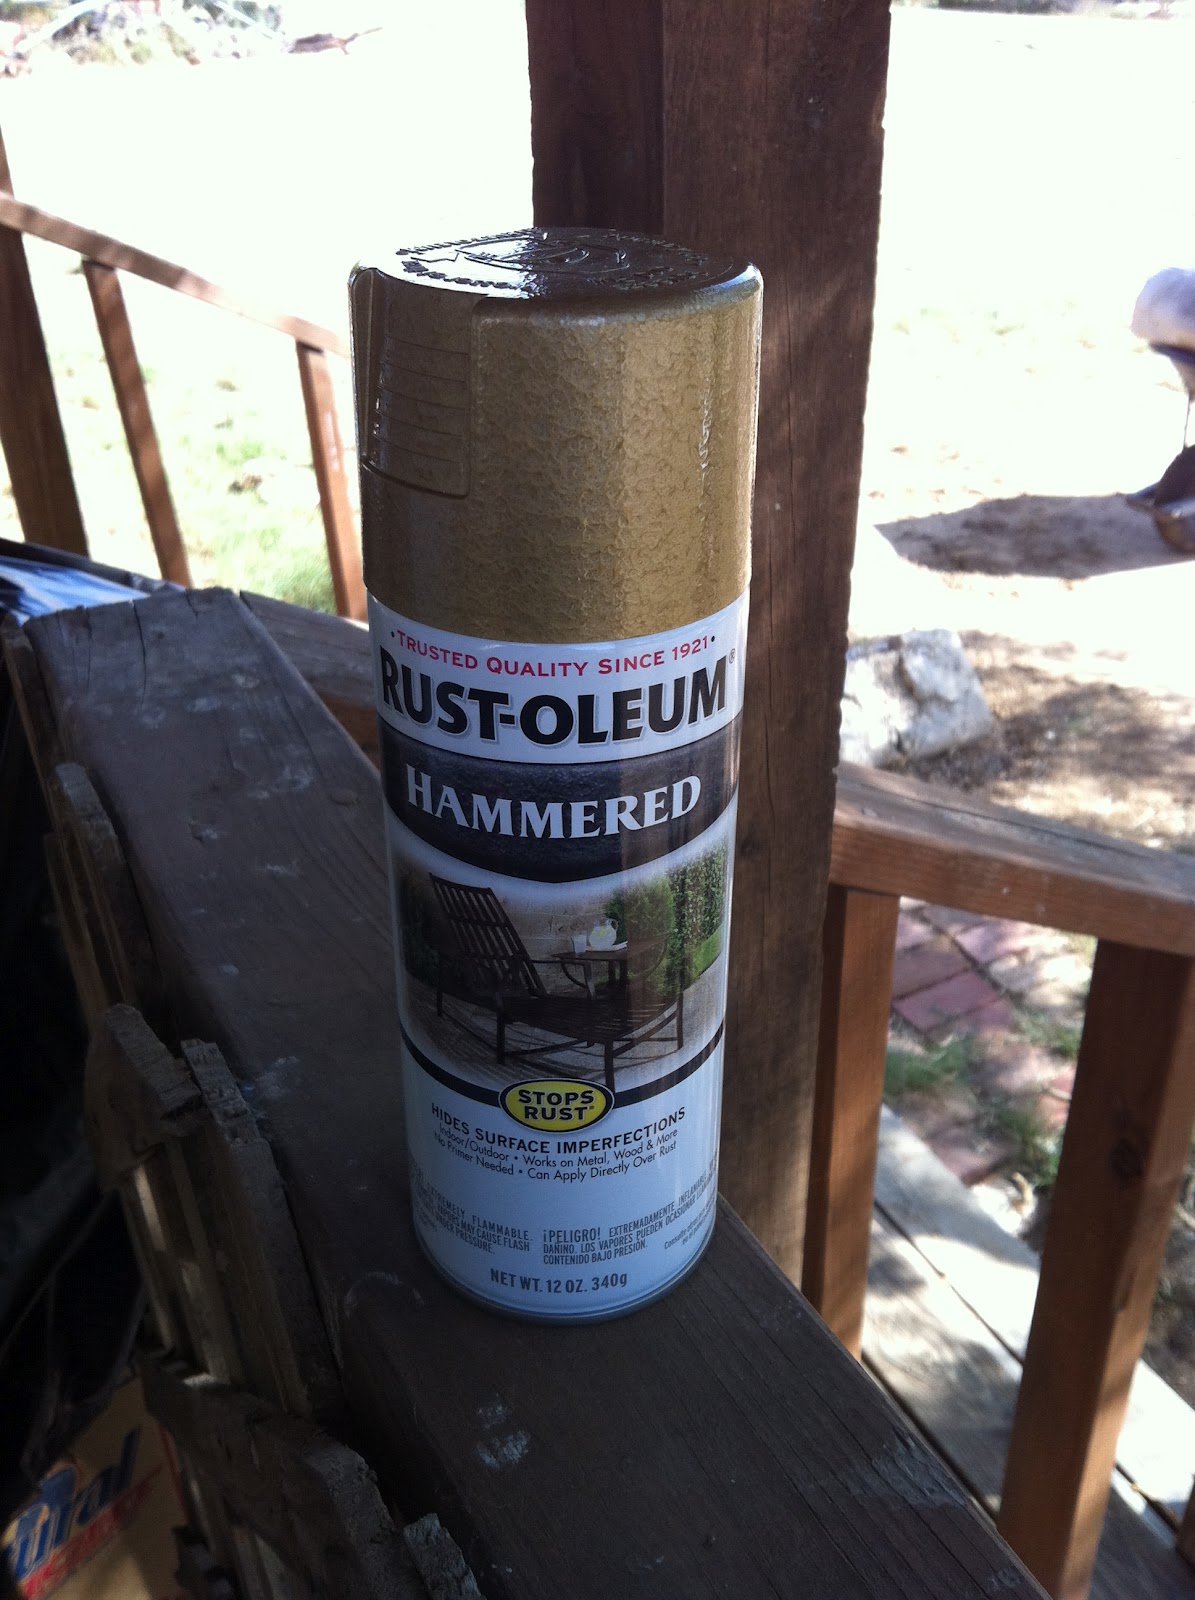
SNEAK PEAK!!! Finally built our shed barn!! More info on that later!!


Our trip to Austin/ New Braunfels to visit family & where I found lots of great finds at the thrift stores.

August


Ate lots of new, healthier recipes, saving those for a rainy day :)


Also tried some yummy drinks!! Also saving for a rainy day.


And... we celebrated Xavier's 1st birthday! And I created my first birthday hat- LOVE the way it turned out..

As far as my Summer to do list, here's how I did

House Stuff
Put up blinds & curtain rod in the kitchen
Make no-sew curtain for kitchen window
Clean and organize under kitchen sink  Still need to get some organizational stuff to finish it up!
Clean and organize kitchen drawers
Clean and organize upper kitchen cabinets
Clean and organize pantry
Clean and organize lower kitchen cabinets
Clean and organize laundry area-  Still need to get some baskets, and other things to finish this space. 
Clean and organize bookcase in office
Organize and rearrange office furniture
Clean and organize Marc's desk
Clean and organize master closet
Organize under sink in guest bath
Paint guest bath & redecorate
Remove carpet and paint master bath ( yes, we have carpet in the guest bath, not by choice, YUCK!)
Empty guestroom and put stuff in barn- I still working on this, slowly taking stuff to the barn and slowly reclaiming our home!
Put up the light fixtures we bought in the office, hall, and laundry room
Repave front walkway
Organize craft closet

Craft Stuff
Finish my niece's senior album- A monster of a project I was not able to.....but I'm so close to finishing!!
Get caught up with PROJECT LIFE
Make a treasure box for school
Get caught up with regular scrapbooking!
Spray paint some stuff for kitchen!!Still need to paint a few more things, but got the stuff I had wanted to do   
Paint & line drawers of old desk, also new knobs!!
Make labels for album spines
Decorate clothespins and make art for laundry room
Make wreath for classroom- Just bought the stuff to make wreath- will show SOON!!
Make a Christmas Planner - I've created the pages for my planner, just need to tweak and print!

I'm pretty happy with the progress on my list. Now that school is starting, I know I will post a lot less.I'm still putting the finishing touches on some summer projects, that I can't wait to show you. Also some pics of my classroom and other school projects. For all the teachers have a great year and God bless!!

Michelle


Wednesday, August 15, 2012

Xavier's First Birthday!!!

TWO POSTS IN ONE DAY---- WOWZA!!!!! My posts were long over due!! Chose to put up this post because today is my friend Cori's baby boy's 1st birthday!!!


Happy Birthday, sweet boy.. You are a wonderful blessing to your family and to us!! May God bless you...
Well this weekend Mr. Xavier had a birthday party... A monkey theme party for mommy's little monkey!!
My friend asked if I could make him a birthday hat. She bought some felt and other supplies and threw some ideas at me of what she wanted. I worked with felt before, during Christmas when I made personalized stockings, but this was my first try at making a hat. We started with a birthday hat, Cori got at the dollar store.. for... yes- a buck!! Don't you just love dollar stores?? Well anyway, when we put the felt on the hat, you could see the design show through the felt, so we put a plain white sheet of paper around it. It worked pretty good as a coverage and made it more sturdy. We then put the felt around it using our trusty friend- the glue gun!! 


After putting on the felt we decorated it with felt letters to spell his name and lime green feathered  boa to trim and top the hat. To make the monkey, I went on google and googled " monkey clipart". We picked the cutest one and that looked like the monkey she was using throughout her party decor. I copied and pasted it to a word document and sized it to the size we needed. I first traced the monkey head on the brown felt and then cut it apart and traced the face and ears on the tan felt. I put it together,, adding the eyes and using a piece of brown felt for the mouth . Wish I had pics of the process.... But here it is my very first birthday hat for Xavier's very first birthday...


Here are some other pics of Xavier's party..
Here are the centerpieces...Cori bought almost all the stuff at the dollar store and the balloons and dowels
 ( or whatever they are called to hold the balloons) at a party supply store. The mini palm trees were in the party section for a luau- themed party and the monkey plates were in the grocery section where they had the plates, cups, napkins, etc... This was all Cori's idea... The palm tree had a hole at the top so we slipped in the dowel, using a hot glue to secure it. We then sandwiched the dowel between two monkey plates. The balloons were added at the party.


The cake was ordered at a bakery, but mommy, aunt, and grandma lovingly made each cupcake. You can find instructions here.


Here's a few more shots of the b-day boy!!


Happy Birthday, little monkey!!

Michelle

Getting Ready for BACK TO SCHOOL!!!

Hi everyone...........crickets.......crickets.....
Well I have been MIA for awhile, with in-service training starting next week, I have been BUSY!!! I've been trying to finish my summer to-do list, as well as cleaning, organizing, and decorating my classroom. So I'm finally going to show you somethings I have been working on for my classroom.
I always find myself scrambling for certain things, like birthday crowns, my monthly calendar markers, and I find myself looking on the net for ideas for a certain theme or holiday, trying to remember what I did the year before or what idea I loved, but lost the website or sample....


Well I had this pink crate.. I bought three a few  years ago at Wal-Mart- this pink one, a lime green, and a blue... I love them!! They are durable and so useful. I slipped in some hanging folders that my hubby had- one for each month that we are in school. I then put in my calendar markers in to plastic ziplock bags and placed them according to month. I also put in activities for themes and holidays and put them according to month. For example.. I know that the back to school theme is the first 2 weeks of school, so I put activities with that theme in the August folder, along with first day of school projects, a supply list and Student info sheets- which I have the the parents fill out during open house. The birthday crowns are in the back, along with other important forms. My plan is to slip a birthday crown for each child according to month.


I used some Martha Stewart labels to label each folder.. I'm loving it and it will HOPEFULLY, FINGERS AND TOES CROSSED, keep me organized. If I happen to see an idea I love, I just slip it in the folder to use when I need to. I also worked on something that I've had on my to-do list for as long as I've been teaching. When my aunt Mary retired after 30 + years of teaching, I inherited some of her stuff.... one of them was this thrift store find. She used this box to hold prizes for the kids. It's octagon shape was perfect to make a treasure box.....


So I got a can of gold spray paint and got to work... I used this....


After the box dried I added some jewels I had from a Christmas project AAAANND..... 
thrift store box becomes treasure box!!


Seriously.. why did I take so long to do this- it was so easy. I couldn't wait to add all the great prizes, awaiting some very lucky, well behaved children, Well let's hope so... lol :)


Oh, I also downloaded these cute letter cards for my letter wall.  They are cute..I'm cutting them and laminating them as I speak type. 


You can find them here and they are F-R-E-E!!!!. I finished a lot this summer and I will share soon, along with my classroom and other back-to-school stuff when I get done. Just please bear with me!! Thanks!!

Michelle

Wednesday, August 1, 2012

Weekend Fun and Shopping Finds!!

This weekend we were in the Austin/ New Braunfels area, I love it there! If I ever moved it would be to New Braunfels- my sis and her family live there and so do my very best friends, Adrian and Erika and their baby girl, Liana. I also love Austin, when I was younger I wanted to move there, but of course that was not to be.. God knows why things don't pan out sometimes. We had a great time visiting family and doing a little shopping. Most importantly I got to see my little man.. my sweet,  adorable nephew!!! LOVE HIM!


While my hubby visited with his brother, I headed out with mom and aunts to the thrift stores like Goodwill, Salvation Army, and Saver's. One thing I learned from my aunts is to take my time and look at things. They always come back with the most fabulous stuff! I found the boy and girl rabbits at each end at Goodwill for .59 each. The three in the middle were bought as a bundle for .99. I have some plans for these come Easter time! Stay tuned... 


I found the frame for 3.99 at Goodwill. I'm planning on using the frame for a project here in the office. I also found a big pack of 12 x12 red cardstock for 1.99 at Saver's. Also at Saver's I found my biggest find of the day, The Singer Sew Quick Handheld sewing machine, the exact one I almost bought at Amazon for 13.99, for only 7.99.  :)


We also took a trip to Ikea. I have three Expedits shelves and an old desk, that I love. But I needed a desk, to take all my stuff I was working on, off the dining room table!! So I got this: AND I LOVE IT!! Plenty of work space!!


Ikea.com


I also got a JULES chair, four large KASSETT boxes, and a rug for my classroom. Thinking about using it in my Library center.


Ikea.com


I have been doing a lot of organizing and cleaning around the house and there are so many projects I want to finish before school starts- with very little time!! EEEK.. wish me luck!!

Michelle

Friday, July 20, 2012

Mini- Summer Weekly To-Do List

Hola! Here's a short post for y'all...  It's often said not to tell people your plans, cause more than likely they will fall through AND that's exactly what happened....WOMP, WOMP, WOMP :(
Due largely in part to our central air going kaput and having to be replaced. NOT GOOD in this 100+ degree Texas weather. But all is good now AND we finally got our shed, which I am now renaming the barn cause it's huge!! Can't wait to organize and personalize it...my little heart is skipping a beat!! YES, I am that excited about my shed.. um barn!!
Here's my little list: You'll notice there's no crafts, fun list.

Put up blinds & curtain rod
Make no-sew curtains
Clean and organize under kitchen sink
Clean and organize kitchen drawers
Organize and rearrange office furniture

We were really busy taking stuff to the barn and dealing with the whole central- air drama, but still we were able to do a lot, and the hubby helped. Glad to report he is feeling much better! Pics of our barn will come later...  :) And next week we are headed to ATX to visit family and also sneak in a little trip to (fingers crossed) IKEA!!!


Monday, July 16, 2012

Easy Meal Idea

Hola!! Sorry for the very late post. It has been a busy,stressful, and complicated week and because of this I didn't even make a to-do list for the week.  But I am looking forward to a better, but not less busy week
 ( fingers and toes crossed)!! I am counting my blessings and hoping for the best. First, my poor hubby became very ill and had to be taken to the ER. He's doing better, but still needs to take it easy for the rest of the week. Lots of prayer and wonderful family and friends helped him get through this. He's rarely sick, so it broke my heart to see him like that. We also had some major problems with our internet. Which is very frustrating.. especially when I have so many blogs that I stalk, um follow. Enough ranting.....
I have a fairly easy meal idea- its my go-to when I have a few pieces left chicken and not a lot of time. I don't have exact measurements or cooking times,and I am certainly no chef, but it's just a general idea of a simple meal that the hubby and I both enjoy.


{Chicken Tostadas}
Ingredients:
Boneless Chicken Breasts ( I cook about 3)
Mayonnaise ( About 1 cup)
Celery (about 1/2 cup)
Onion (about 1/3 cup)
relish ( about 1/2 cup)
Tomato and Lettuce
Corn Tortillas (to cook) or ready-made Chalupa shells


1. Boil water and cook chicken until it's done

2. Cut chicken or do what I do and  let the food processor do the work for you, lol!

3. Put chicken in a bowl and mix mayo, celery, relish and onion. Add salt and pepper to taste

4. Spread chicken salad on to chalupa shell

5. Top with lettuce and Tomato. You can also top with avocado, cheese, jalapenos, and my hubby likes to add hot sauce and a little bit of lemon or lime.

EASY DINNER IDEA- LOVE IT!!

There has been major spring summer cleaning going round here. I have purged so much for donation and thrown away even more.  I have been very busy organizing stuff and labeling boxes to go into our brand new STORAGE SHED- WE are sooo EXCITED!!! Why?? Cause we are finally reclaiming our guest bedroom and we have so many plans for it.  I also got my Becky Higgins page protectors and my picture order from Shutterfly and I have been busy sorting pics and putting pages together for my Project Life. I also worked on my niece's senior album- YES, i'm still working on it and hope to finish it before she graduates from college!!!!!! I've teased you so much with this senior album, here's a little preview....


Because my hubby is home sick this week I'm making a mini version of  my weekly to-do list and see how  much I can do. Have a great week Y'all!!


Michelle


Tuesday, July 10, 2012

Laundry Room Wall Art and Labels


Hola! If you are linking up from Young House Love or Bower Power, welcome! My blog is pretty new and this is my very first PINTEREST CHALLENGE and first link-up party. Well, I'm going to make up a new board on Pinterest untitled "DONE" and this will be my first pin...I'm so excited! This was my inspiration:
Source: www.bhg.com
Source: www.brown-paper-packages
Honestly, the decoupaged clothes pins made me nervous, but in the end it was the stamped clothespins that gave me the most problems. I read the directions wrong and ended up doing something completely different for my wall art. It's ok, the whole point was for me to have wall art in my laundry nook and in the end that's what I got. I live in a  small town with my local Micheal's/ Hobby Lobby 80 miles away- GASP!! So I headed to Wal-Mart and hoped for the best, luckily I found what I needed. I got 3 5x7 frames for .97, white spray paint, white paint ( that I ended up not using),  a pack of clothespins and I was very lucky to find Modge Podge. I already had the scrapbook paper. 


I spray painted the frames white, and "modged podged' the clothes pins. The process was pretty easy and the results beautiful, now I want to "modge podge" everything!! 


I was lucky to find some scrapbook paper that matched the ironing board cover I bought at Home Goods and from there I got the colors for my wall art.

Since my stamping didn't go as planned I got on the computer and made my own wall art using MICROSOFT PUBLISHER.  I got some clipart online, changed the colors, and made my art. I felt like a professional graphic designer, hehehehehe!!


This is my finished product and I'm pretty proud of it- not because I think it's pretty, but because I actually finished it!! YAY! Hope you like it.


I still need to hang up the art and laminate cards. I won't show the entire room, until I have everything done. Thanks for stopping by, hope you enjoyed it! 

Oh, and if you can't read what's typed on the poster, it says:

The Laundry Room: Sorting Out Life, one load at a time...

Michelle